IMPROVE MY GAME
Articles
Advanced Screening: How I use the TPI Screen

I am continually asked about my screening process and my process for determining the golfer’s “pink elephant” or key element, that when changed, will maximize their potential. Every athlete presents a new challenge; different combination of passes and fails which leaves me with the job of figuring out how they are all interrelated. Once I find the limitations I have to choose the priority or movement that when corrected, would yield the biggest positive performance change.
The more athletes you screen the more you see in their screen. I remember TPI co-founder Dr. Greg Rose telling me a story from his chiropractic college. He said his instructor would get all the students to form an inner circle of students sitting on chairs and an outer circle of students feeling the neck of the student in front of them. They would have 2 minutes with each neck then they would move to the next student. At first he couldn’t tell the difference between a students neck and a turkey neck but after a few weeks he was able to feel things that he previously was unaware of. It is a skill or feel that you develop from experiencing a variety of different samples that allows you to extract the important aspects of the assessment. The same can be said about performing 1000’s of TPI screens. This article is an attempt to take you deep into my screening process and what goes through my mind when I am looking at my athlete move.
Let me give you some insight into my screening and assessment background, which greatly influences my process and ability to “connect the dots”. My first introduction into screening came from the book Athletic Body in Balance by Gray Cook. That was the first book I read that stated ‘before performing this exercise make sure the athlete can perform the following movements’. Genius! I followed that methodology for a few years, which led me to the "bible of movement" textbook Musculoskeletal Interventions by Mike Voight and Barb Hoogenboom. The depth of anatomy, physiology, corrective exercises and interventions made me realize that my Bachelors in Human Kinetics was just the beginning and I needed to continue learning. The first certification I took after graduating from the University of British Columbia in 1998 was the FMS. The FMS (Functional Movement Screen) courses gave me a good understanding about the basic function of the athlete. My next certification was the TPI Level 1 Certification. I have been using the TPI screen since taking the seminar in 2007. In that time I have seen the screens morph, tests added, omitted and testing criteria change. This is a good thing! A screening process that doesn’t evolve and adapt reveals a resistance to new ideas and advances in science. For instance, we use to place the dowel behind the back under the armpits during the Thoracic Rotation Test. Later through testing and feedback from our advisory board we realized that any vertebrae above the dowel was compromised in its ability to rotate. The current method has the dowel placed at the nape of the neck, which yields a more accurate measurement of T-spine range of motion. I followed up the Level 1 class with Fitness Level 2 and 3 followed by the SFMA (Selective Functional Movement Assessment) featured in the TPI Medical Track.
I cannot express the impact that the Medical Track has had on my coaching. It took my screening techniques and understanding of how the human body is meant to move to another level. I was able follow the flowcharts and get to the root of the problem. Instead of just saying you pass or fail, I now knew why! For more information on the various screening certifications and the difference between the TPI, SFMA and FMS please listen to my conversation with Dr. Greg Rose on the Coach Glass Podcast Ep98 (it's also embedded at the bottom of this article, for your convenience).
My screening process starts with an often overlooked but critical part of the TPI screening experience. I ask the athlete “what are you wanting to accomplish today or what would you like to get out of this experience?” This is an important question. What is my athlete looking for? Pain reduction, better movement, more power, better work capacity or all of the above? Each of these elements requires a different screen. Saying that, regardless of what my client thinks they need there are some basic elements that any functional athlete should possess. If the athlete is there because they want to feel better and move better I will focus on finding the limitations that are affecting their quality of life. This athlete doesn’t care what the best golfers in the world do and doesn’t care that removing the shoulder flexion limitation will help them hit the ball farther. They want better function. Likewise, if the athlete comes in because they want to take the winnings at their annual buddies golf trip they won’t care about upper crossed syndrome and its affect on sitting posture. Know what they are looking for and adjust your language, examples and priorities to match their needs.
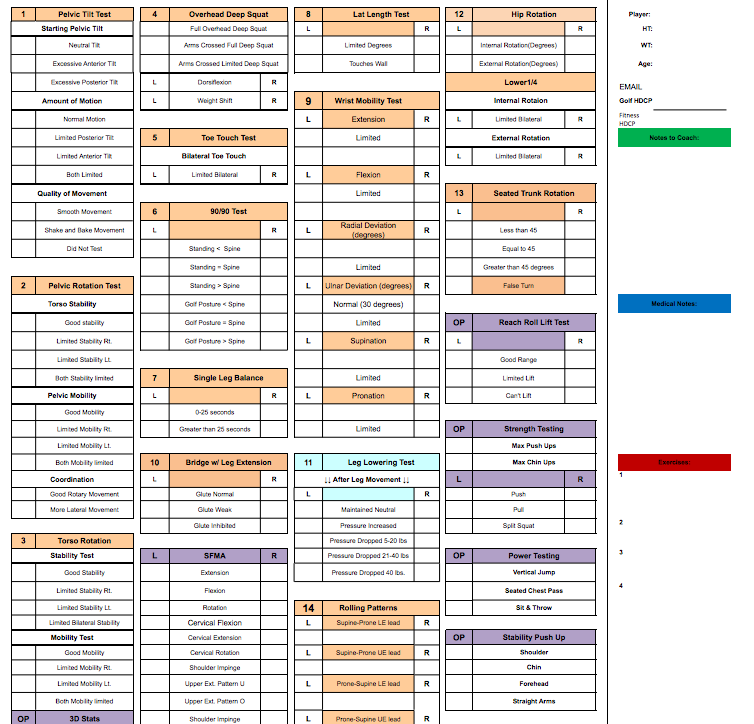
I have customized my Assessment & Screening Score Sheet (Below)
 to include all the elements I look at during my initial player assessment. I record the results on this sheet in the form of an Xcel spreadsheet that I can print off and give to the athlete as a PDF at the conclusion of the assessment. The first heading is the ‘Medical’ section, which is reserved for any issues that I find that my medical team may need to be aware of if a referral is required. The 2nd heading is ‘Notes to Coach’ for anything I find that needs to be communicated to their golf instructor and finally the 3rd heading ‘Exercise’ section for a list of correctives exercises or areas of the body that need my attention.

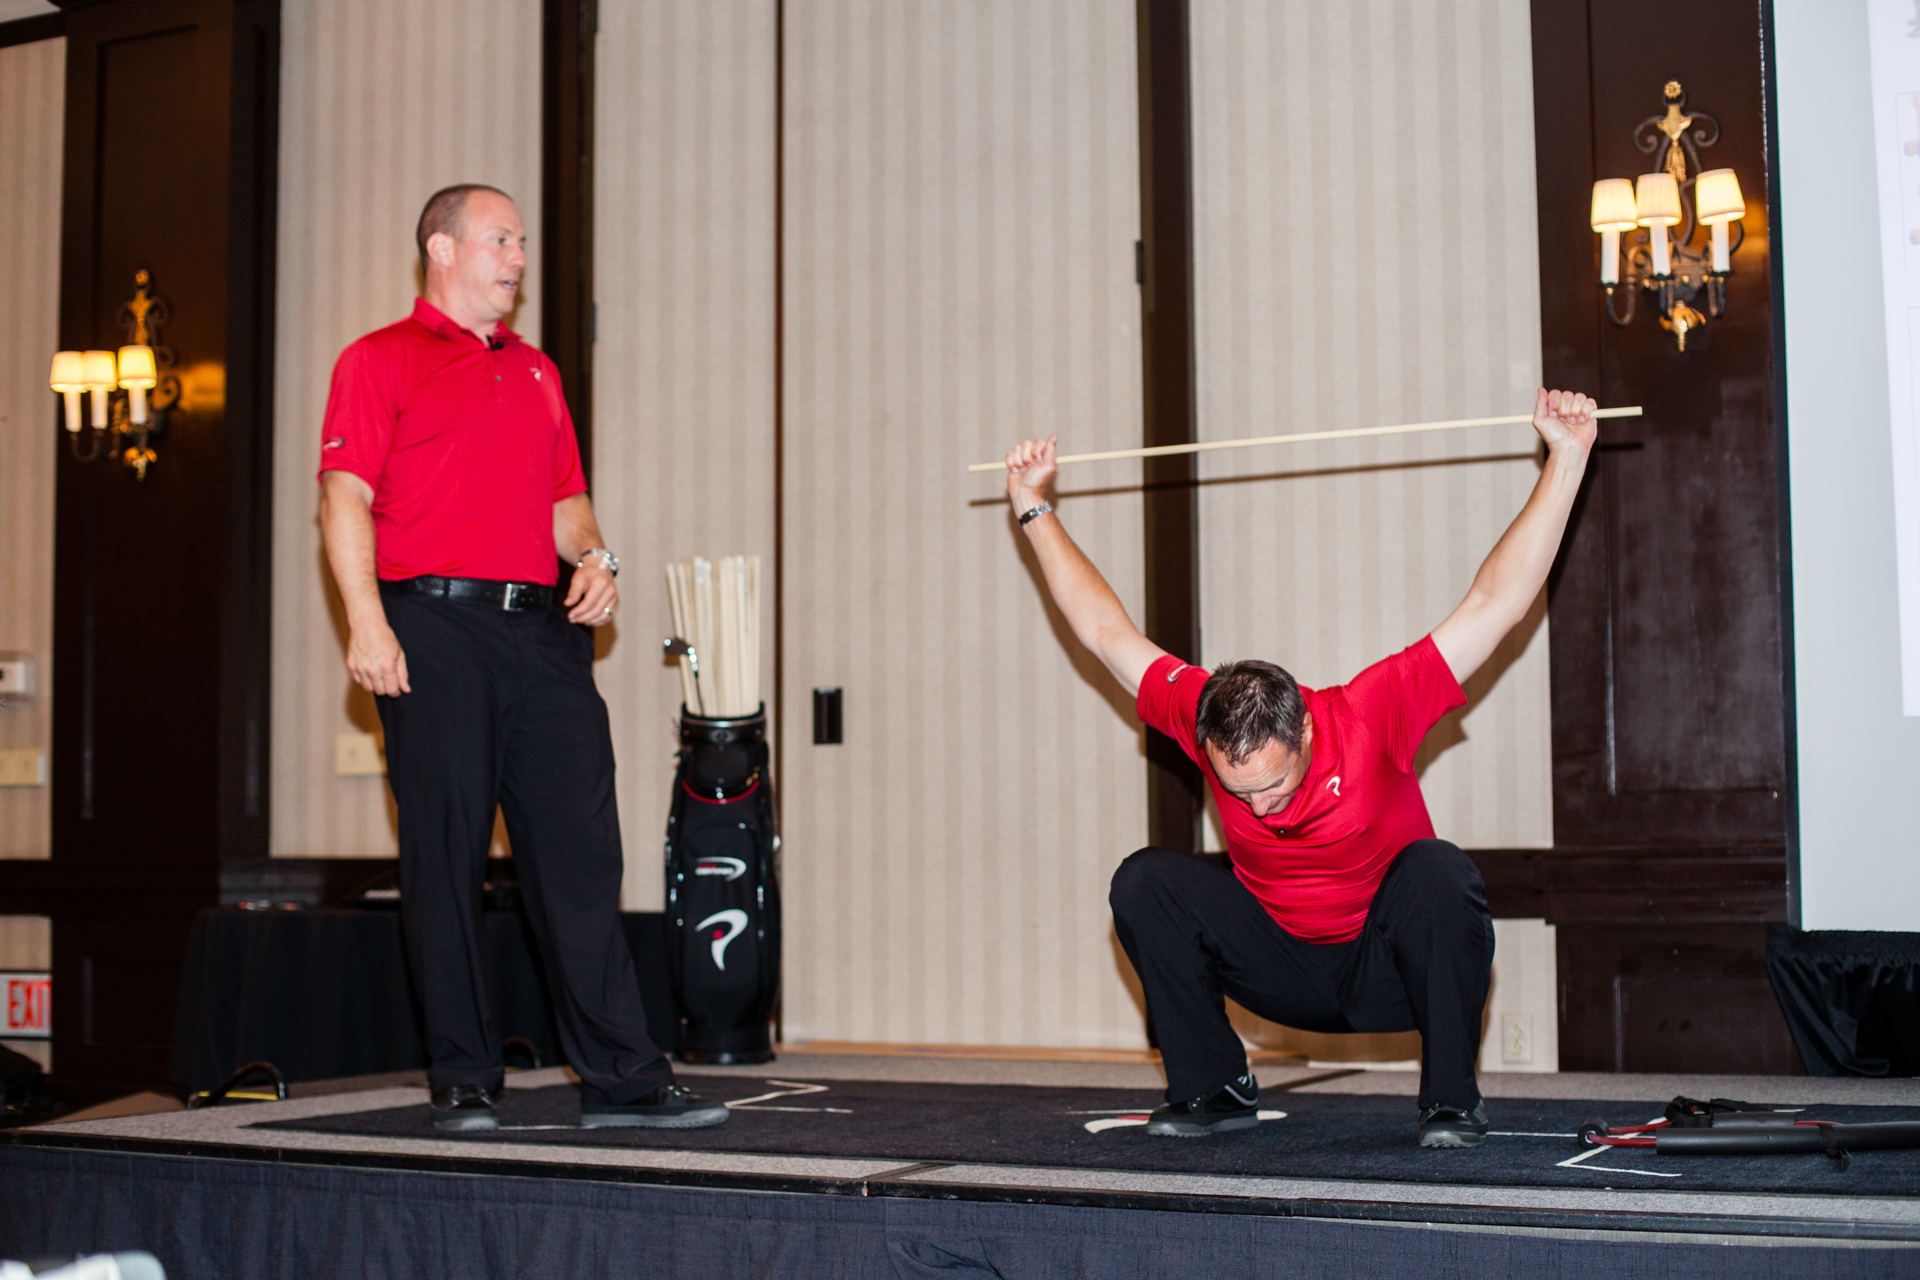
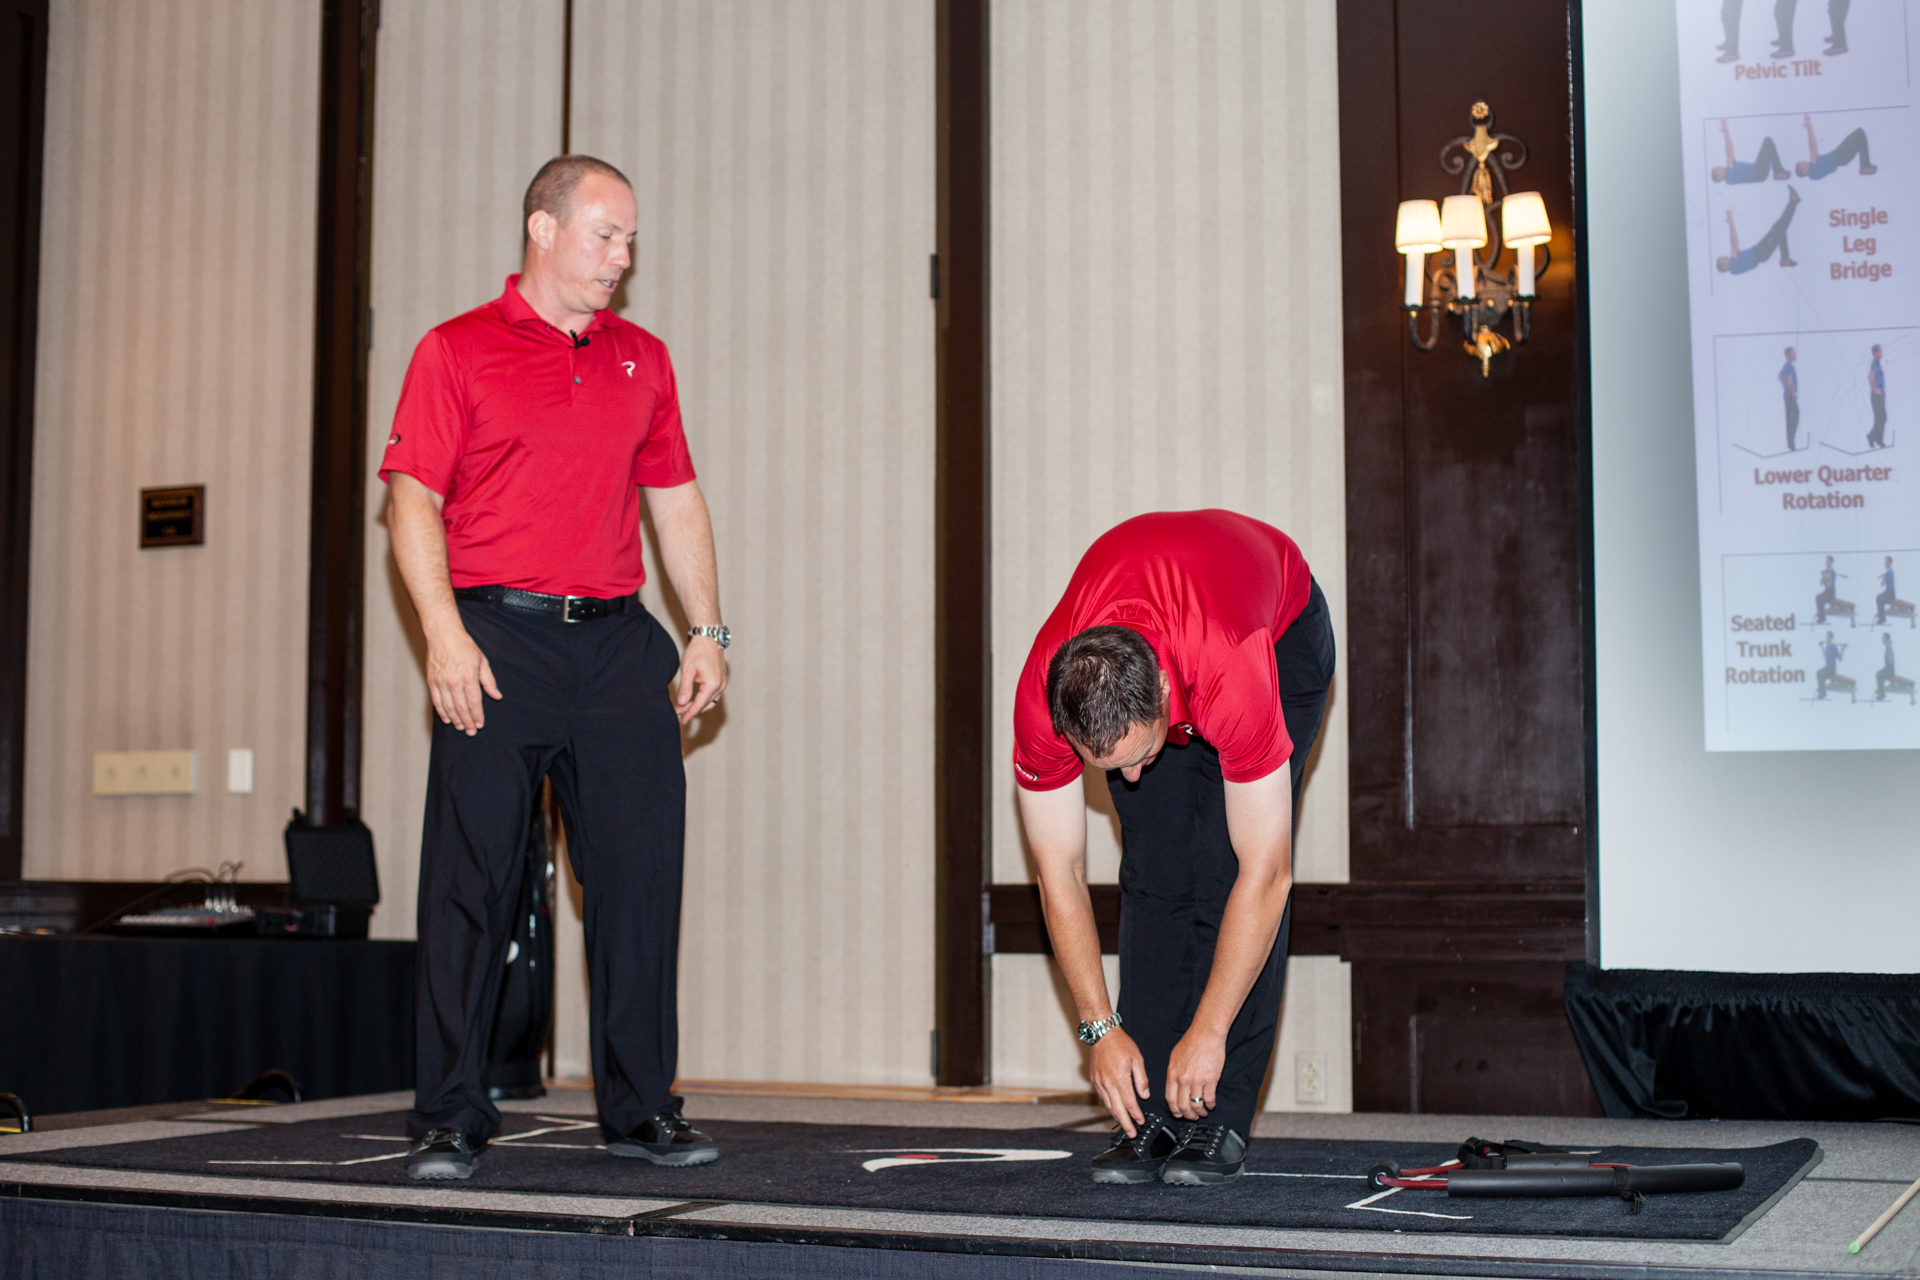
I am often asked, “Is there a specific order that you perform your screens?” I let the athlete’s body dictate where the assessment goes. My starting point is usually the Toe Touch. I love the gross movement patterns to get a feel for the athlete's general freedom of movement or lack there of. If I find a flexion problem for instance in the forward bend or toe touch screen, I start to break that pattern out which could lead to an active straight leg raise, passive straight leg raise comparison and a sacral angle measurement. For my Level 1 readers the aforementioned screens are part of the TPI Medical 2 SFMA assessments. Staying with the lower body I may move into the Glute Bridge or any other screen that can be performed on the ground. I liken it to the rabbit hole analogy. Once you dive in, it could lead you in many different directions. You may just end up in Albuquerque “What’s up Doc?” I like to link the screens together and try to connect the dots to get down to the root of the problem. For instance an upper body fail on the Full Overhead Deep Squat may lead to a Lat Length Test, 90/90, T-spine Rotation, and end with Cervical Rotation.
If my athlete is there for golf performance I like to start with the Pelvic Tilt Test as it gives me a good look at their initial golf posture and lets the athlete know that there is a direct correlation between the screen and their swing. It feels ‘golfish’!
After completing the Pelvic Rotation and Torso Rotation I will move up to the 90/90. This is another ah ha moment for the golfer when we reveal the correlation between the 90/90 test and their swing plane. How many times have they heard that they need a flatter swing plane? Now you show them how their 90/90 or external shoulder mobility limitation is causing their less than desirable plane.
Lets look at the qualitative screens for a moment and see if we can flush out the connection that lies between them all. If you are unfamiliar with the SFMA there is an initial rotational test that looks at full body Multi-Segmental Rotation. It is an overview of the entire bodies ability to rotate left and right from head to toe. If there is a limitation you don’t know if it is a cervical, thoracic or lower ¼ limitation. I find this test fascinating! If you look at the body move as a whole you might make some assumptions on the rotational function of each segment. It may look like they lack rotation through their lower ¼ but after administering the TPI Lower ¼ Rotation test we see they have great rotation through that segment of their body. But for some reason when the entire body is rotated the hips barely move. Is this a mobility issue or a stability issue? We go further up the chain and test the Seated Trunk Rotation and find more than 45 degrees. Cervical clears as well. Weird? Why is that each segment can move nicely on its own but struggles to move as a whole? Stability! Performing some muscle activation techniques followed by the stability 4x4 corrections for rotation using upper and lower body rolling and voilà! Retest shows quality multi-segmental rotation. The aforementioned correctives can be found in the TPI Fitness Level 2 Track.
Here is another example of an assessment that people often jump to a conclusion on prematurely. A failed Toe Touch often has the screener assuming a limitation in the hamstrings length. After testing it out we find that the problem isn’t hamstring length but instead a lack of thoracic flexion.
Most of you are probably familiar with the Joint By Joint Approach created by Gray Cook and Mike Boyle.
.png) Basically, Gray and Mike observed that the body is made up of joints which alternate between mobile and stable. The lower back needs more stability, but the areas above and below (hips and t-spine) need more mobility. A limitation in one segment of the body will have a cascade affect on the adjacent segment. Mobility and stability limitations are interconnected and affect function away from the source of the problem. After zooming in on the problem I then like to step back and see how the isolated issue affects the movement pattern again. It would be like using Google maps to find the best route from LAX to the Rose Bowl. You will get a general overview of the total trip but you won’t know the exact highway exit or street intersection until you zoom right in. Before you start your journey its a good Idea to zoom back out and see the entire scope of the journey. After performing corrctives on the T-Spine flexion retest the full flexion Toe Touch Test. Again success.
Basically, Gray and Mike observed that the body is made up of joints which alternate between mobile and stable. The lower back needs more stability, but the areas above and below (hips and t-spine) need more mobility. A limitation in one segment of the body will have a cascade affect on the adjacent segment. Mobility and stability limitations are interconnected and affect function away from the source of the problem. After zooming in on the problem I then like to step back and see how the isolated issue affects the movement pattern again. It would be like using Google maps to find the best route from LAX to the Rose Bowl. You will get a general overview of the total trip but you won’t know the exact highway exit or street intersection until you zoom right in. Before you start your journey its a good Idea to zoom back out and see the entire scope of the journey. After performing corrctives on the T-Spine flexion retest the full flexion Toe Touch Test. Again success.
If the initial screen indicates that there is good function in a particular pattern we will dive deeper into the performance tests found in our TPI Fitness Track. I like to start with power tests as these are the ultimate expression of human performance. If I see a deficiency in power output we need to decide if a strength issue or a speed issue causes it. When you can pin point the problem it will dictate the direction of your programming and saves you a ton of time. Depending on the athlete and where they are in their YTP (Yearly Training Plan) we could have corrective exercises in one pattern while performing strength and speed drills in another pattern. As long as one doesn’t negatively affect the other we can train the two patterns in the same session.
The purpose of screening is to give us a snapshot of where are athlete is, where they need to go and what we should focus on to get the most out of their time with you. The more screening and assessment tools you have in your tool box will get you to the athlete’s priority faster, more efficiently and make your training sessions more effective.
I hope this helps clear up the differences between all these great screening and assessment tools and helps you further understand how and when to apply each approach.
Some of you know that I host a podcast called the Coach Glass Podcast. Here's the conversation with Dr. Greg Rose that I mentioned at the top of this article. We spent a lot of time talking about the origins of TPI and entrepeneurship, but also discussed the philosophy and evolution of screens. I think it's pretty relevant to this conversation:

Jason Glass BHK, CSCS, TPI Advisory Board @jasonglasslab Host of the Coach Glass Podcast on iTunes Website: http://www.jasonglassperformancelab.com/
